Create a Drop-Down List in Excel (Step-by-Step Guide)
Introduction
A drop-down list makes data entry faster and more consistent. Instead of typing values manually, you can choose from a predefined list. This is especially useful for categories such as regions, products, or statuses.
What is a Drop-Down List?
A drop-down list in Excel restricts the values allowed in a cell to items from a specified list. This reduces errors and ensures data is consistent across a worksheet.
Example
Suppose you have a dataset of regions. Rather than typing "East," "West," "South," or "North" into multiple cells, you can create a drop-down list linked to that dataset.

Steps to Create a Drop-Down List
-
Select the cell where you want the drop-down (for example, D4).
-
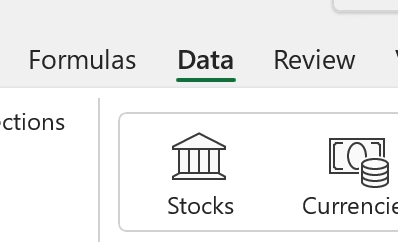
Go to the Data tab on the ribbon.
-
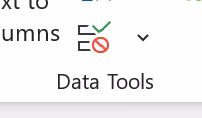
Click Data Validation in the Data Tools group.
-
In the dialog box, under Allow, choose List.

-
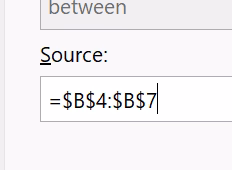
In the Source field, select the range containing your regions.
-
Click OK.
Now the selected cell will have a drop-down arrow. Clicking it lets you choose a region from the list instead of typing it manually.

Why Use Drop-Down Lists
Drop-down lists reduce typos, enforce consistent categories, and make spreadsheets easier to use for multiple people. They are often used for forms, reports, and dashboards.
Conclusion
Creating a drop-down list in Excel is straightforward and improves the accuracy of your data. By linking the drop-down to a source range, you can manage entries in one place and keep your worksheets clean.
For more ways to work with structured data, check out our guide on the FILTER function to extract rows that meet specific conditions. If you want to prevent changes to your drop-down setup, see our guide on protecting workbooks in Excel.
Level up your Excel skills
Bite-sized lessons, drills, and daily challenges to build real spreadsheet skills.